
The 3D Clean Sticks should be used when changing to a different filament. You don't need to use the Clean Sticks when swapping to another roll of the same filament. You only need to use half a stick of 3D Clean per filament swap so every full stick is 2 filament changes.

Steps for Usage
1. Heat the tool head to 270°C and unload the current Filament. You'll select Change Filament, then select the temperature icon at the top left and raise the nozzle temperature manually.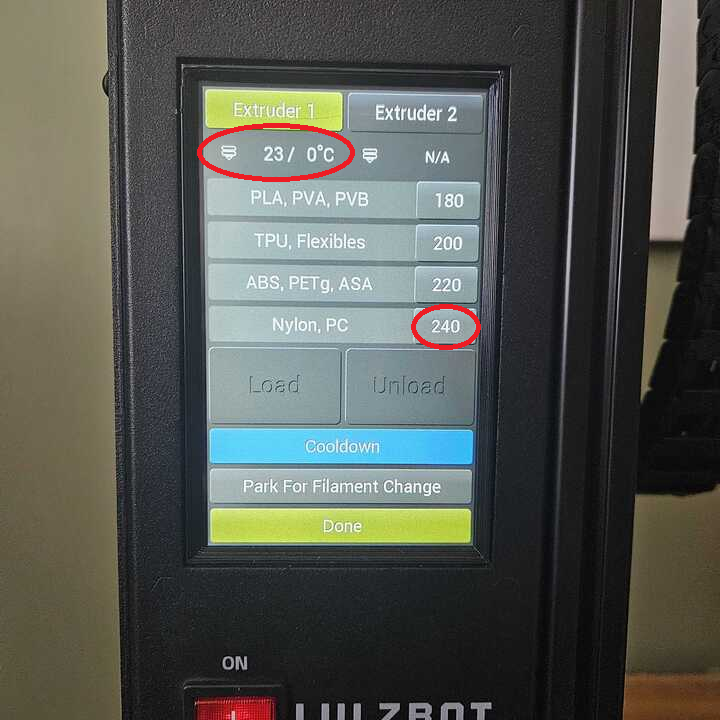
3. Select load on the printer screen.
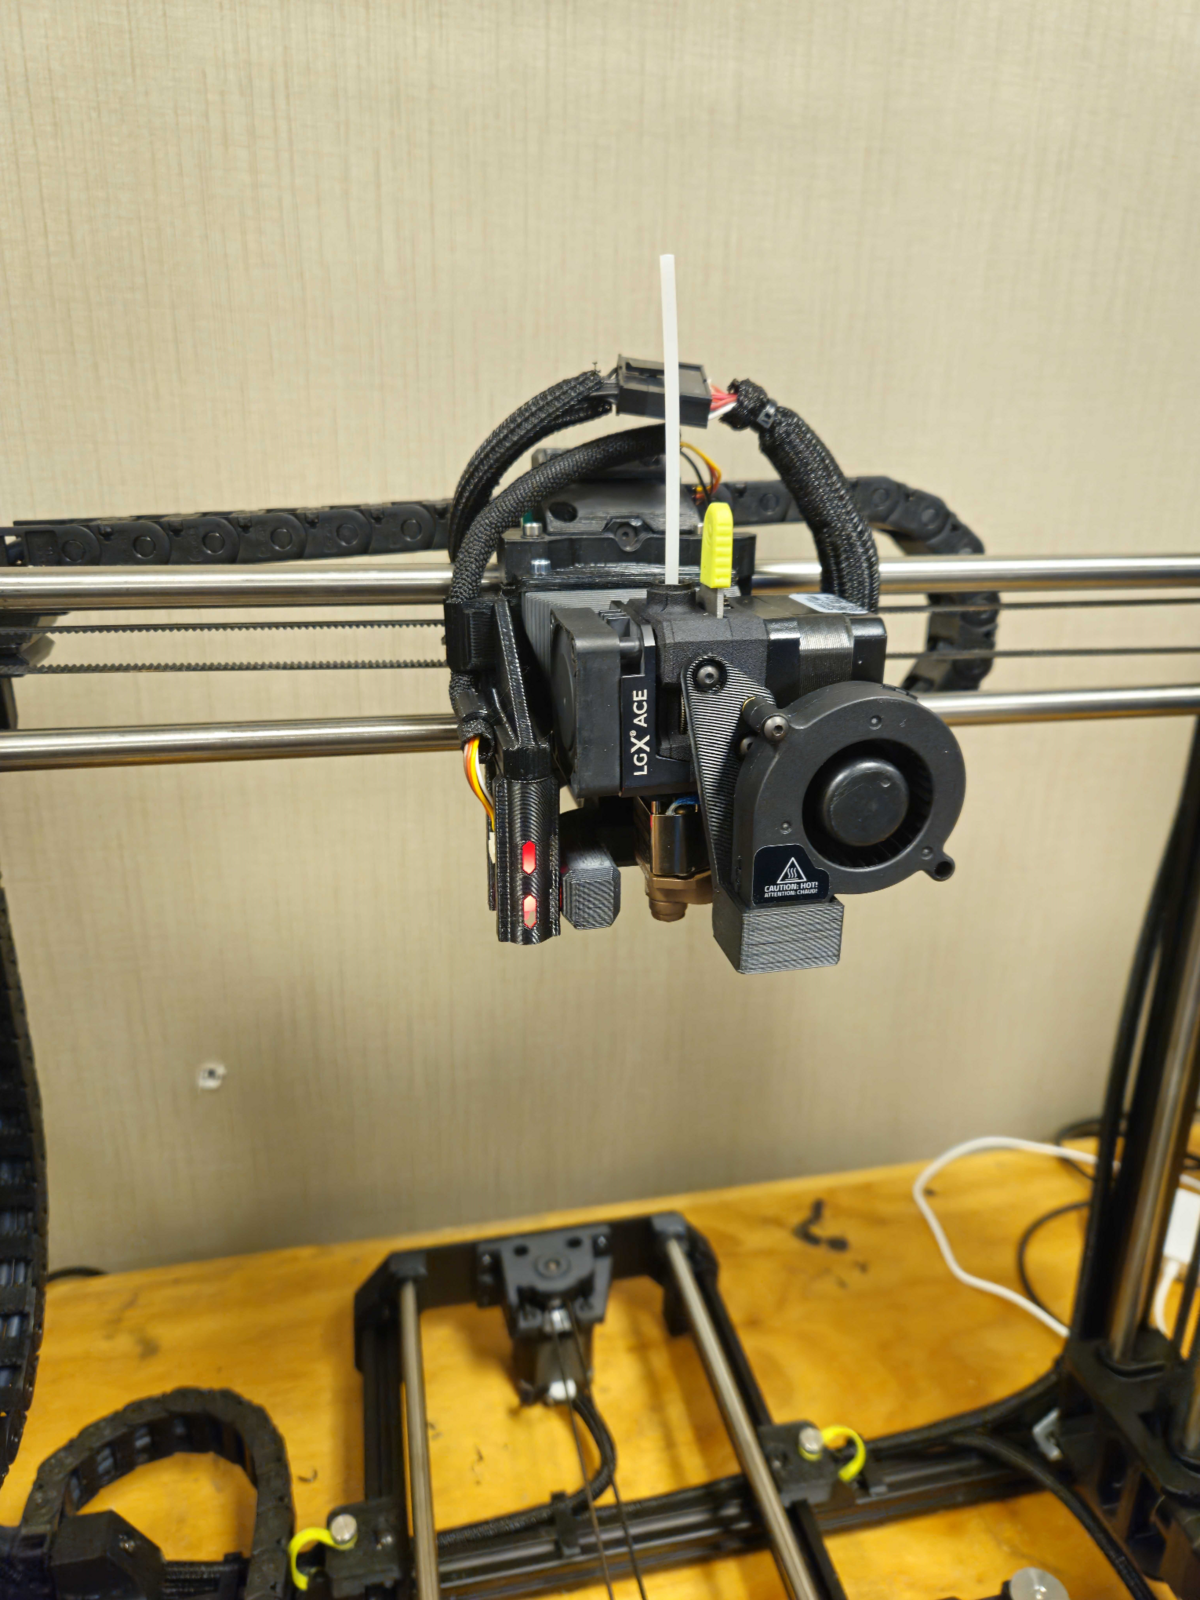
4. Load the 3D Clean Stick Half into the tool head and let the tool head fully extrude the stick until you hear a clicking noise. Then select the Load button to turn off the extrusion and wait 3 full minutes.
Note: What remains of the 3D Clean Stick inside the tool head will adhere to any remaining residue or chunks from the prior filament. Failing to wait the full 3 minutes can result in a clog as the 3D Clean Stick is performing its cleaning process.
5. Set the tool head's Temperature to the appropriate loading temperature of the new filament, see the graph below:
|
Filament |
Temperature |
|---|---|
|
PETG |
220°C |
|
TPU |
220°C |
|
CPX |
270°C |
Note: For CPX, you should already be at 270°C from loading the 3D Clean Stick
6. When loading the new filament, be sure to see 6 inches of clean filament with no grey or cloud discolorations from the 3D Clean. Then feel free to start the next print.