
It happens. You started a print but realize there isn’t enough remaining filament. Or, you just want to use up any small amounts left.
Not to worry! You can easily pause the print, swap filament, and then resume the print without missing a beat. Below are instructions on how to make that swap while printing on the Galileo O&P Printer.
Step 1: Pause the Print from FabOne
Navigate to app.protosthetics.com > Galileo > Print Control. Then, click “Pause.”
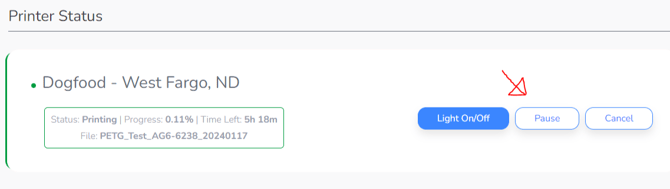
Note: To ensure a successful merge, we recommend you don't keep the printer paused for more than 10 minutes.
Step 2: Remove the Old Filament
Wait for the printer to stop moving.
Afterwards, flip the tension lever on top of the toolhead to the left, remove the guide tube, and pull the filament out:
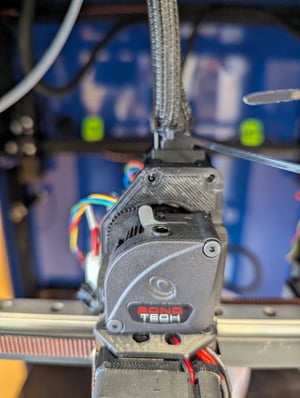
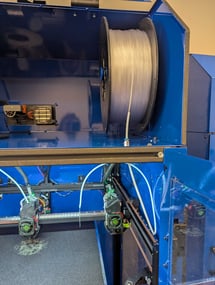
Be sure to fully remove the old filament roll from the Dehydrator and insert the new roll as you normally would when loading filament.
Step 3: Insert the new filament
Push the filament through the opening on the top of the toolhead until you see about 3 cm push out the bottom of the nozzle. Then pull the tension lever to the right as appropriate to the filament you're loading
Step 4: Resume the Print
Navigate to app.protosthetics.com > Galileo > Print Control. Then, click “Resume.”
Let Protosthetics know if you have any snags or questions through the process.