1x 1.27mm Hex Key
1x 1.5mm Hex Key
Both Hex Keys can be located in the Green Pouch of the Printer's Drawer.
Note: Turn the printer off before you begin
Pull the bed all the way forwards to gain access. Blow compressed air in and around this area to clear any debris.
Here is a video to assist with the process:
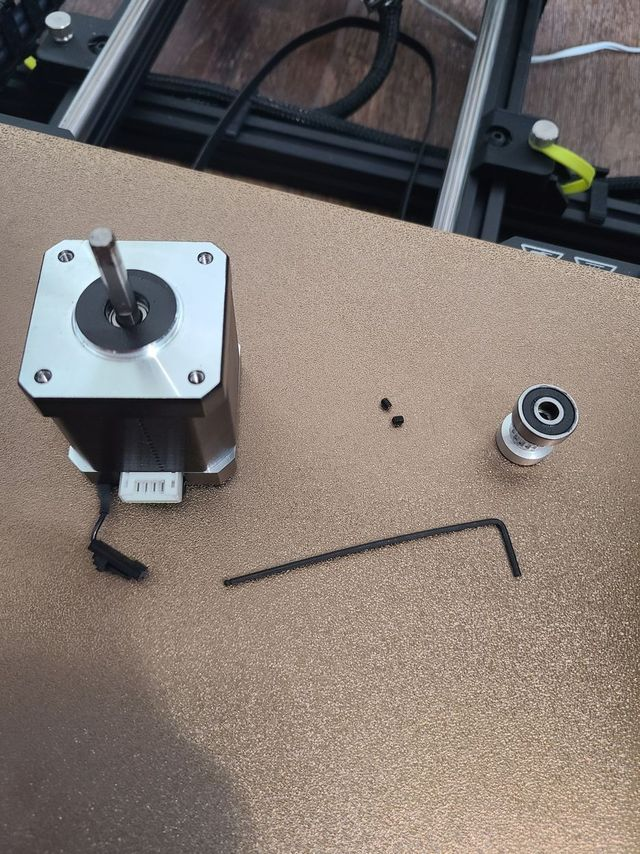
1. Unplug the white cord from the motor so you can unscrew it the 4 screws surrounding the Y(Bed) Motor using the 1.5mm Hex Key and take it out of it’s housing. Do not remove the screws from the back two holes. They are best left inside the hole for reinstallation later
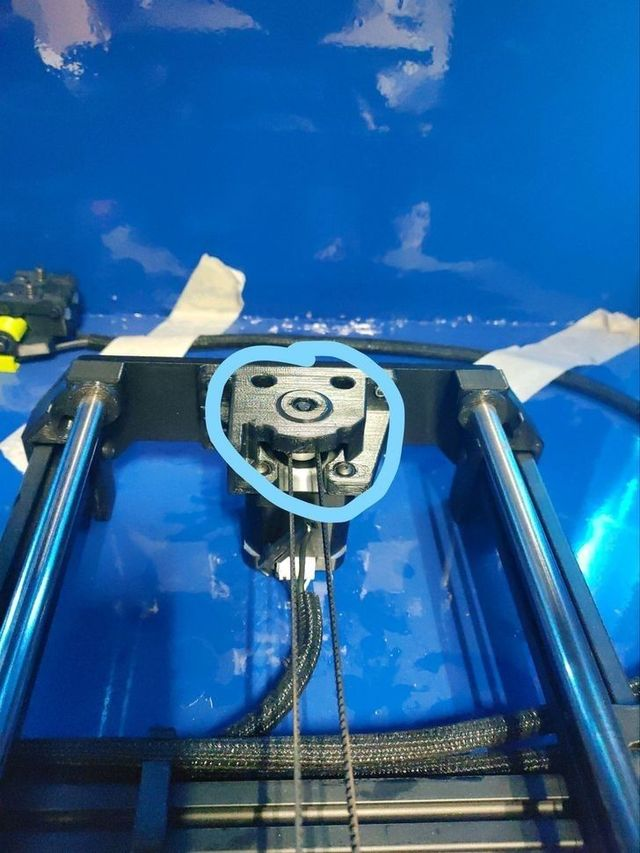
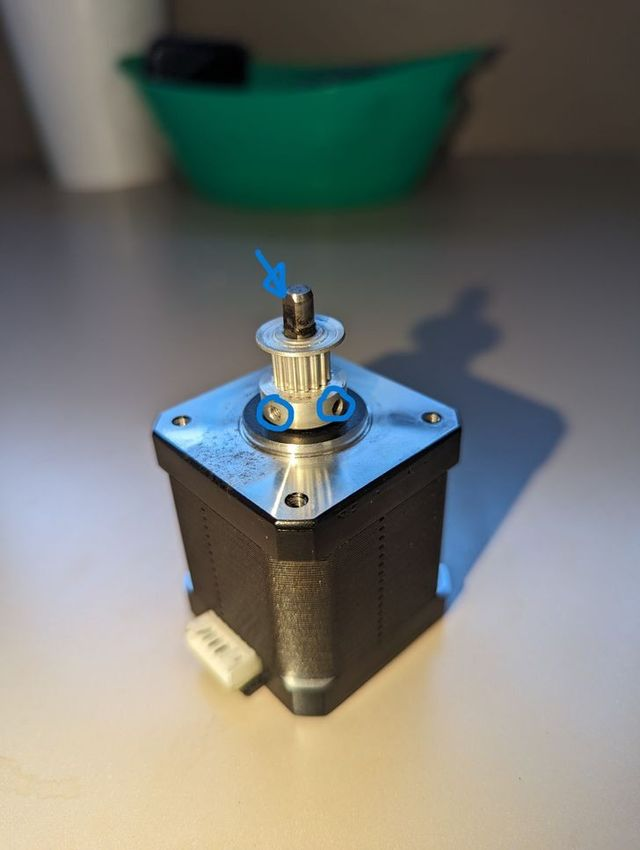
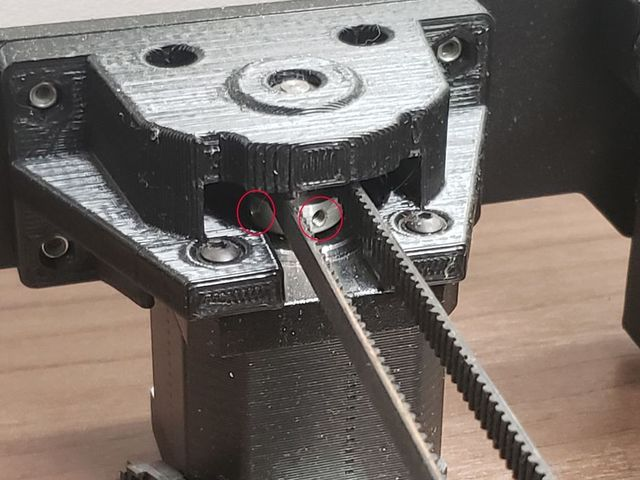
2. Once the motor is removed, unscrew the small screws (circled in blue) with the 1.27mm hex key.
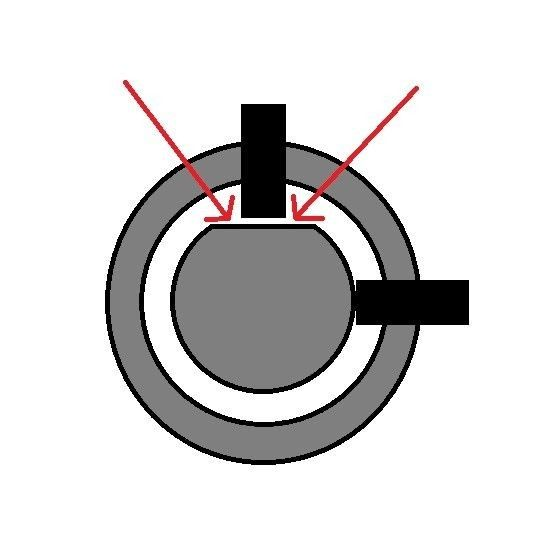
3. Apply blue loctite on each of the small grub screws. Then, start by tightening one of them down almost all the way on the FLAT face of the drive shaft (see the blue arrow pointing to the flat surface above) using the 1.27mm hex key.
4. Using the 1.27mm hex key, fully tighten the second grub screw down against the rounded section of the drive shaft, and then finish fully tightening the first grub screw against the flat face.
5. Insert the motor back into the shaft and secure it with the 1.5mm hex keys, and let us know when you're ready for a test print.
6. The problem is that the screw might have slipped and is no longer tight against the center of the flat surface.