
What is a Flexible Inner Socket?
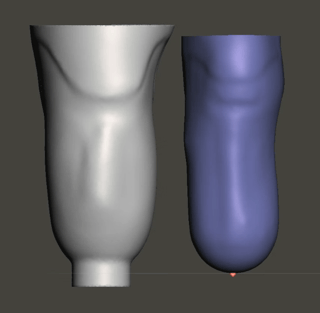
A flexible inner socket is a flexible thermoplastic layer between the definitive socket and the skin to allow greater muscle movement within the socket. Flexible inners can be printed on the Galileo Pro, Galileo Pro 2, and Galileo O&P in TPU 95A (Cheetah).
Table of Contents
- How to order
- Design Features
- Measurements Required
- Fabrication Instructions
- FAQs
How to Order
- Before ordering this product, clinician preferences must be established with the Protosthetics design team. If you have not set up or want to update your clinician preferences, please schedule a meeting with your design lead by emailing success@protosthetics.com.
- Log into FabOne. Click “Order” under the Flexible Inner product listing.
- Can be ordered alone or in combination with a test socket or preparatory socket.
- Attach a scan of the limb, cast, plaster positive, or socket.
- Proceed to the order form.
Design Options
Device Type
If ordering a flexible inner in an order of multiple socket products, start with the flexible inner first.
Above Knee Socket Shape
View the options for brim shape here.
- RHSG Brim
- Quad 1
- Quad 2
- Quad 3
- Narrow ML 1
- Narrow ML 2
- Narrow ML 3
- CATCAM
- Semi-Quad
- Sub-Ischial
- Clinic Custom (must be in your clinician preferences)
Thinner Print
Thinner flexible inner sockets print at 2.7 mm, 0.5mm thinner than the 3.2 mm standard socket walls, with the same distal end thickness and adapter options.
Free Lamination Shell
Lamination shells are thin prints made of PETG designed to be poured that match the device’s inner surface. Learn more about lamination shells here.
Trimline
- Raised - Raised trimlines are recommended if pouring the flexible inner. There will be trimline impressions on the print to mark the trimlines, and the material will extend roughly half an inch above the condyles.
- Trimmed - Trimmed trimlines can be used to slide the flexible inner into an existing or paired socket shell.
Additional Product Device Type
- PETG Test Socket
- PETG Test Socket with RevoSurface
- Lateral, Posterior, or Anterior
- Lamination Frame
- Lamination Frames are designed to fit inside the Flex Inner, acting as a rigid body to laminate directly over the Flex Inner.
- Lamination Shells are designed to be poured with plaster and serve as the base for a traditional lamination - they will be made with minimal plastic to reduce print time & material usage.
Adapters
The following distal adapters have been validated for printing in flexible material:
- Bulldog
- Coyote Air Lock
- Kiss Lanyard
- Round Bottom
- Round Bottom with Flat Plate
Find images of our offered adapters here.
If the adapter requires it, a cutout is applied to the distal end of the flexible inner when ordered alone or in combination with a test socket.
Volume Modifications
- None
- Increase or decrease
- Change amount (enter value)
- Volumetric change type - ply, percentage, or other (explain in additional information)
Required Measurements
Measurement Discrepancy Handling
- Set to measurements
- Go with scan
- Verify sizes for differences greater than +/- 7 mm
Designers will automatically reach out for any sizing differences greater than 20 mm.
Above Knee Measurements:
An asterisk* indicates the measurement is required.
- Measurement starting point* (IT or perineum)
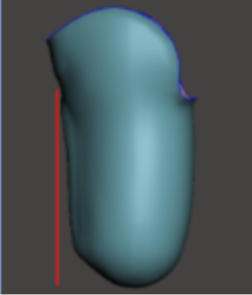
- Starting point to distal axial length* (vertical, not along contour)
- ML at perineum*
- AP at perineum*
- Circumferences
- At starting point, 2” below starting point, 4” below starting point are required
Below Knee Measurements:
- MPT to Distal End (axial length)*
- AP at MPT
- ML at MPT
- Proximal ML (above condyle)
- Circumferences
- MPT, 2” below MPT, 4” below MPT are required
Fabrication Instructions
Support Removal
Use 100-150 grit sand paper to remove supports.
Use heat gun and smooth over any rough areas on round bottoms.