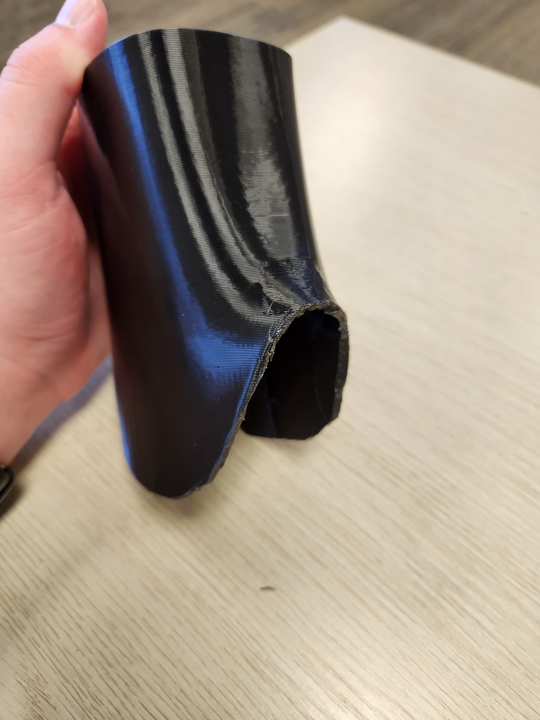
What is an above knee cosmetic cover?
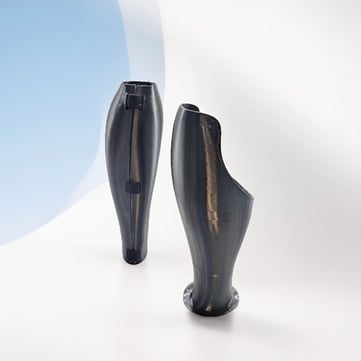
Cosmetic covers can be added to the space of an above knee prosthesis from the knee to the foot shell to create an anatomical shape of the lower limb that matches the patient’s sound side. Patients can simply slip the cover around the knee and secure. Cosmetic covers can be printed on the Galileo Pro, Galileo Pro 2, and Galileo O&P with TPU Cheetah. TPU Cheetah can be ordered in black, grey, white, and blue with additional colors available upon request.
Standard microprocessor covers are available in FabOne Print Control under Favorites & Off The Shelf files. MPKs that are available include C-Leg, Rheo, and Kenevo.
Table of Contents
How to Order
- Log into FabOne. Click “Order” under the AK Cosmetic Cover product listing.
- Attach a scan of the prosthesis.
- Proceed to the order form.
Design Features
Proximal End Cut: This feature is a cut on the proximal end of the cover that matches the proximal contour of a patient’s prosthesis. By adding this, it allows for greater range of motion in the knee joint and allows access to the knee joint hardware.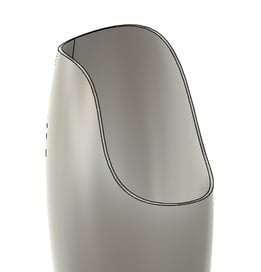
Design Options
Distal Style:
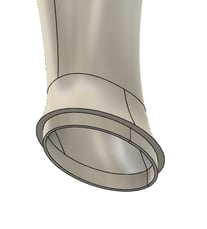
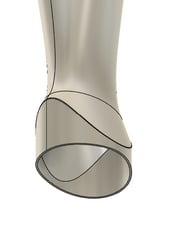
Three different styles of AK cover distal ends are available to best suit the locomotion of the patient’s prosthetic. The options are as follows:
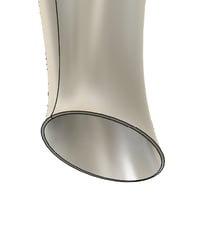
- Flat: The most simple style of the distal ends. Sits flat on top of the prothesis foot shell & provides ankle shape.
- Locking: Distal end matches the inside contour of the foot shell. Slides into foot shell to secure connection. Provides additional stability, no shifting cover, more natural look.
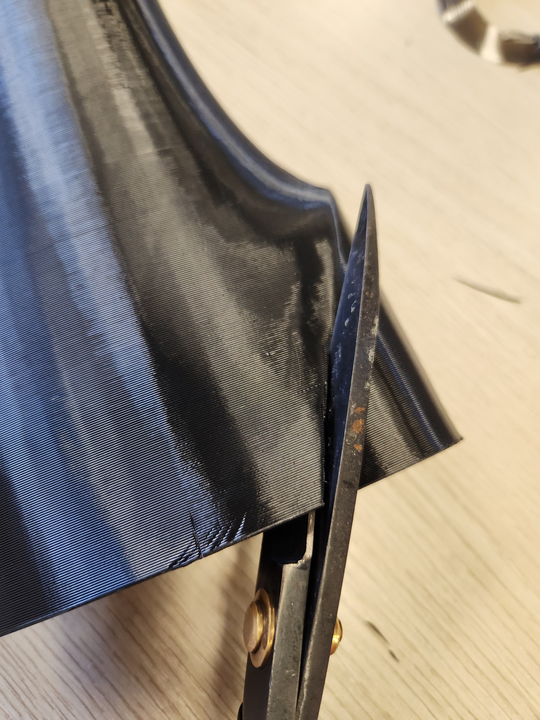
- Full: Distal end has additional material. This can be cut to form two wing-like shapes. These slide into the foot shell to add support and allow for ankle flexion.
|
Flat |
Locking |
Full |
Foot Profile
- Low-Profile Foot
- High-Profile Foot
- *Ankle Circumference - If possible, please provide a scan and/or photos of the ankle in the attached files on the previous step so we can do our best to ensure a proper fit. We may reach out for more information if we do not get any images, depending on our familiarity with the foot you’re using.
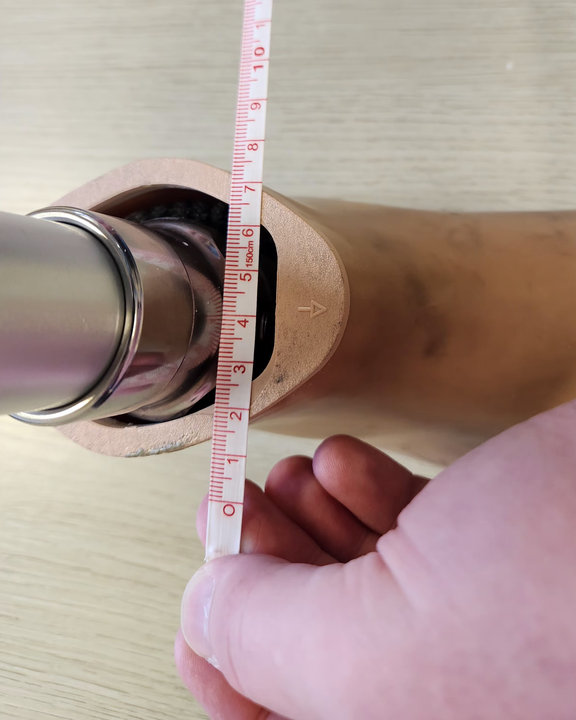
- The measurement should be at the foot shell opening’s largest circumference so we can make sure there is room for the ankle in the cover
Design Additions
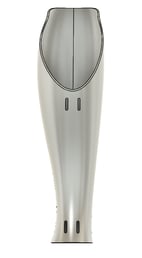
- Posterior Strapping Holes: These slits are positioned on the posterior side of the cover and follow the center of the posterior contour geometry. The slits allow for Velcro to be fed through the slots and fastened to hold the cover together around the knee. Standard placement is middle and bottom of the cover is over 30 cm tall.
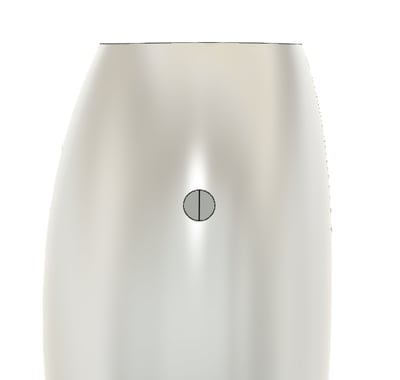
- Charging Hole: This feature is a hole placed on the posterior side of the prosthesis. It allows for easy access to the charging port on an electrically powered prosthesis.
- *Charging hole height - taken from the top of the foot shell
- *Charging hole diameter
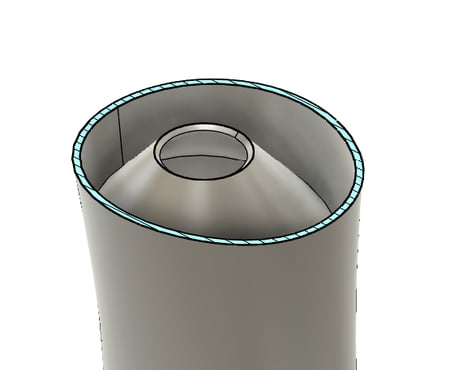
- Pylon Support Cone: A cone is placed on the inside of the cover to add extra support, preventing any side to side movement and applies friction to the pylon reducing the up and down movement as well. The top end of the cone is designed to match the diameter of the patient’s pylon, which sits just below where the top of the pylon ends.
- *Pylon size
|
|
 |
Required Measurements
A scan of the prosthesis is always required.
We will ask for the following measurements on the order form:
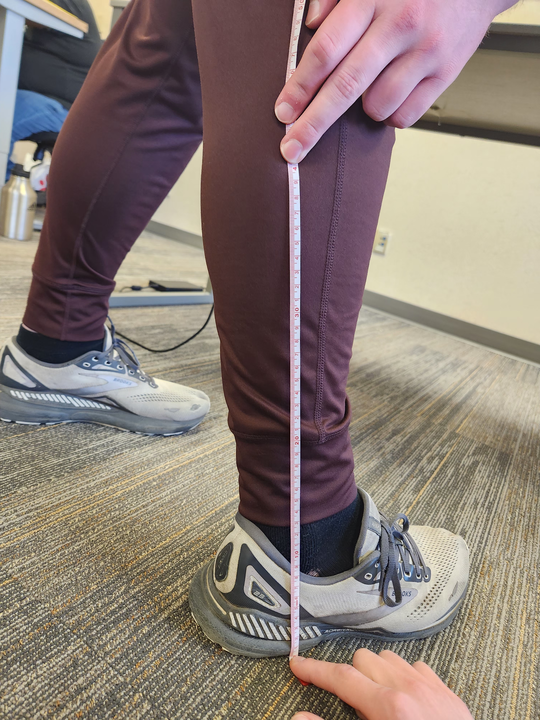
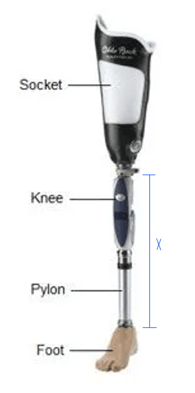 Height from top of foot shell to top of knee hardware
|
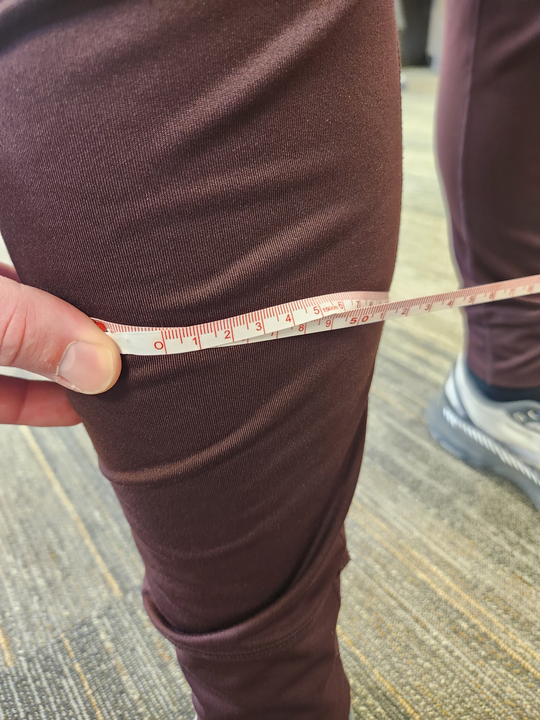 Circumference at calf center (widest point)
|
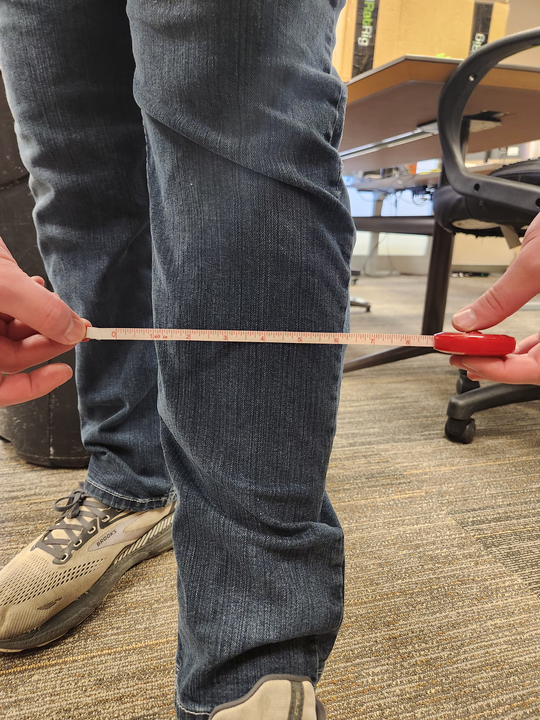 M/L at calf center
|
|---|---|---|
|
Height from foot shell to calf center
|
M/L and A/P of foot shell opening (interior)
|
|
Fabrication Instructions
Follow the below post-print instructions to finish fabrication needs for the AK cosmetic cover.
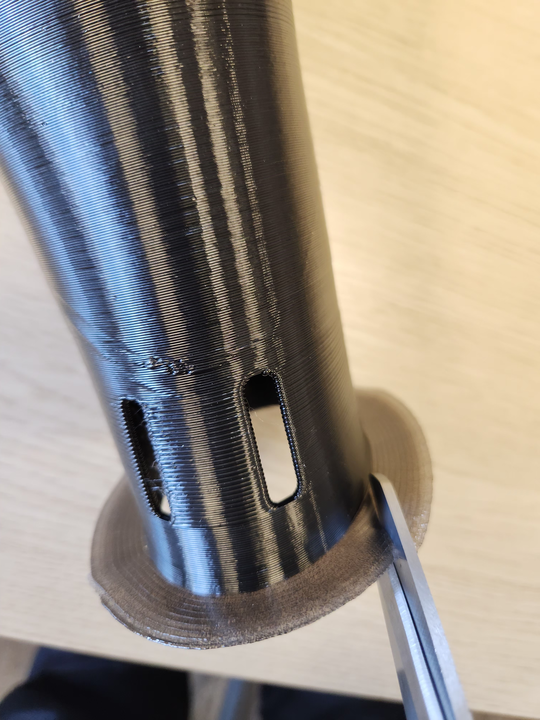
1. Remove trim from distal end.|
|
|
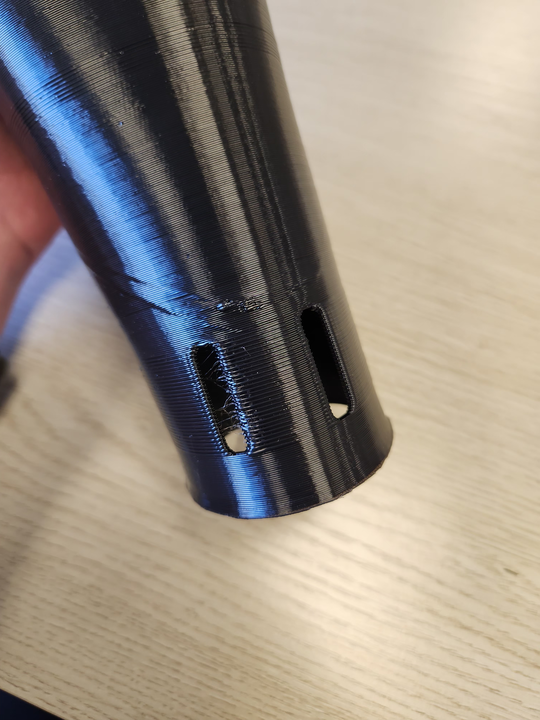
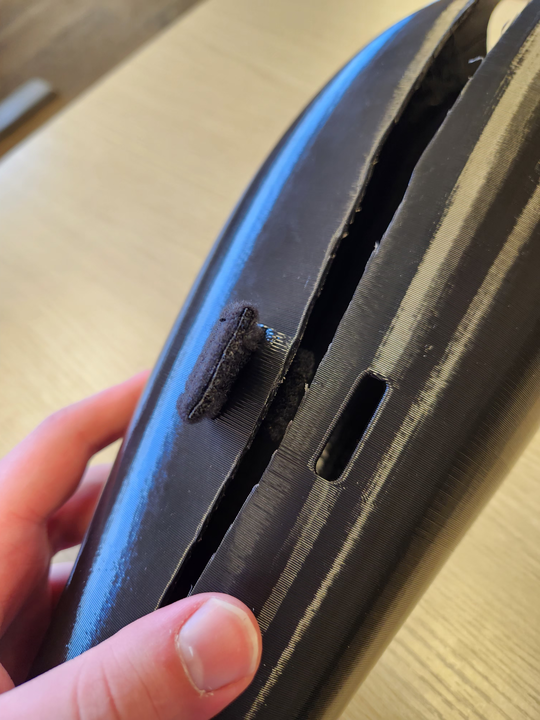
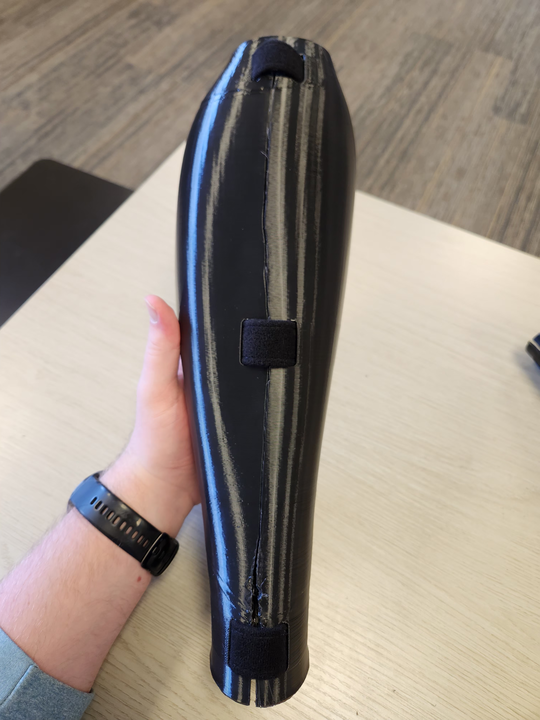
2. Cut down the posterior side of the cover between the posterior slits.
Alternatively, remove the foot and slide the cover onto the knee from the distal end to avoid cutting.
|
|
|
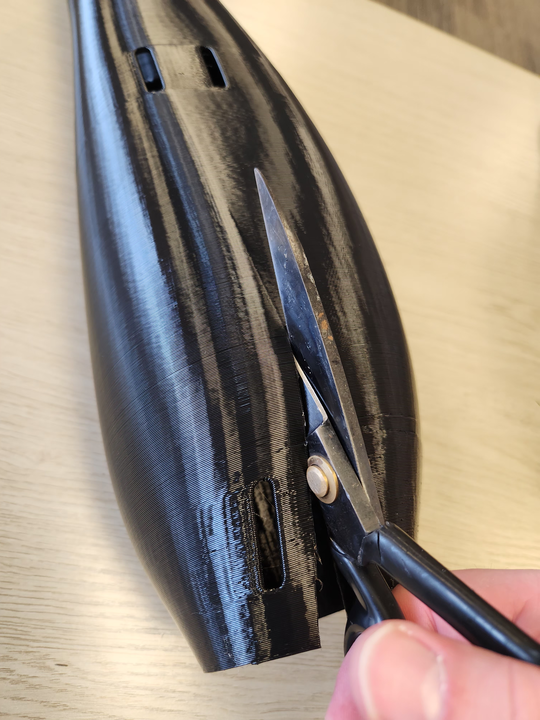
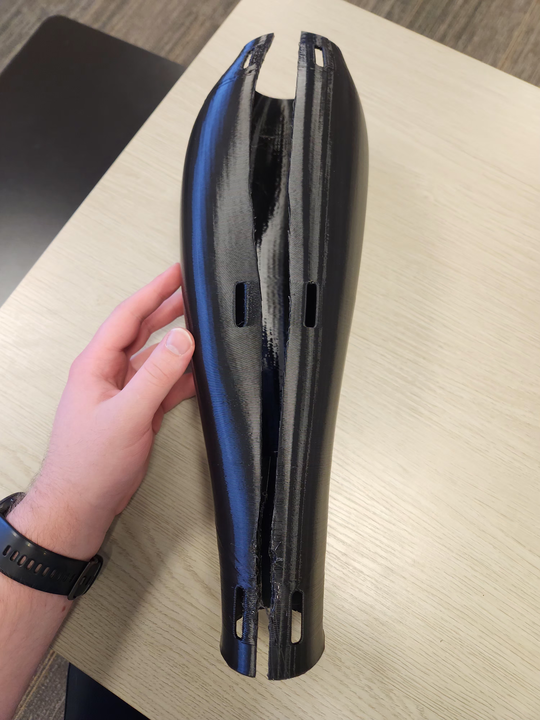
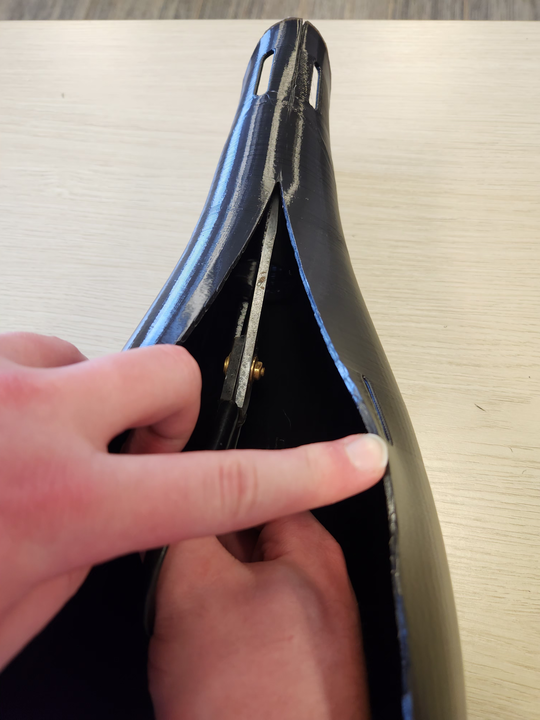
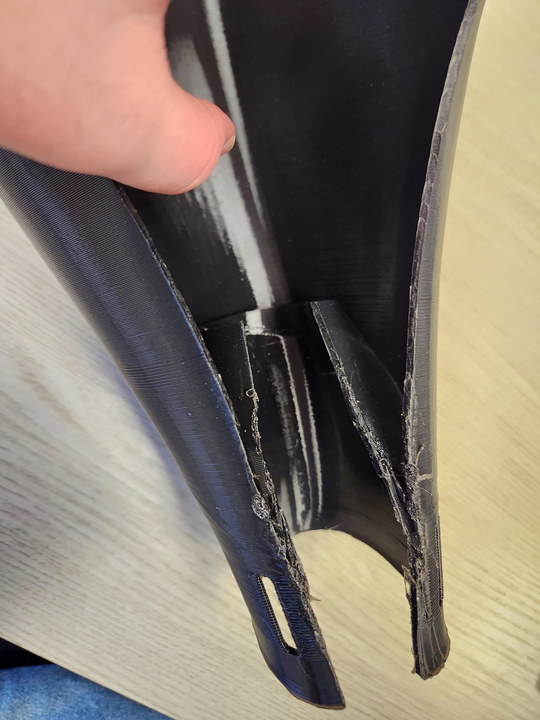
3. Continue cut along the same path for the internal cone.
|
|
|
4. Feed Velcro through each slit to secure posterior side.
|
|
|
5. If the distal end is in the full style, a cut is required along the pringle-shaped seam of the distal end.
|
|