
Table of Contents
- What is an articulated AFO?
- How to place an order
- Design Options
- Measurements Required
- Fabrication Instructions
- FAQs
What is an Articulated AFO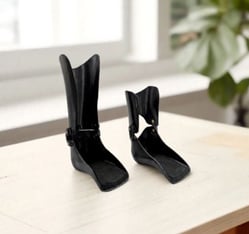
The articulated ankle-foot orthosis is a plastic AFO composed of a foot plate and shank with joints installed between the pieces on the medial and lateral sides of the ankle. It is used to maintain the alignment and stability of the ankle joint and control the ankle’s rotation.
Articulated AFOs are printed on the Galileo O&P machine using PC Blend, a polycarbonate filament.
How to Order an Articulated AFO
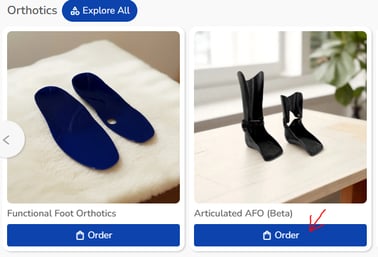
- Log into FabOne, and click “Order” under the Articulated AFO (Beta) section.
- Attach a scan of the limb, cast, or plaster positive.
- Proceed to the order form to fill out the requested details.
Design Options on the Order Form
AFO Types
|
Space for Footplate Padding
|
Cast Corrections
|
Design Additions
|
Heel Posting
|
ReliefsA standard depth of 2mm will be applied to the relief location. Please specify in additional information if you would like to change this value or relieve any other locations.
|
Joint OptionsChoose from the following joints:
|
|
Required Measurements
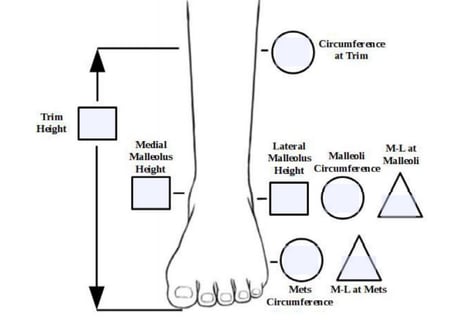
We will ask you for the following measurements in the order form (*required measurements):
-
Trim height*
-
Circumference at trim
-
Malleoli circumference
-
M-L at malleoli*
-
Lateral malleolus apex height*
-
Medial malleolus apex height*
-
M-L at mets
-
Mets circumference
Fabrication Instructions
Print on the Galileo O&P machine with PC Blend loaded on the small, left-side toolhead and PETG loaded on the large right-side. The wall thickness is 3.5 mm. After printing, you can continue fabrication:
Grinding
Break off support material on the heel of the footplate. Use 100-150 grit sandpaper to remove any residual support material. Use 400-600 grit sandpaper to smooth the trimlines. Use Tycro or silicone polishing cones to perfect the finish.
Padding
Apply padding where desired with any standard orthotic glue.
Heat Modifications
With a heat gun, material is pliable for adjustments at 70C-85C without melting.
Chemical Modifications
Do not use acetone. Isopropyl alcohol or Goo-gone is recommended for removing residual glue.
FAQs
-
How to load the filament for articulated AFO printing