
Download and Log In
- Navigate to your App Store here and click "Get" to download the app.

- Log in with your existing Galileo Credentials. Email us at success@protosthetics.com if you need to set up an account.
Taking a Scan
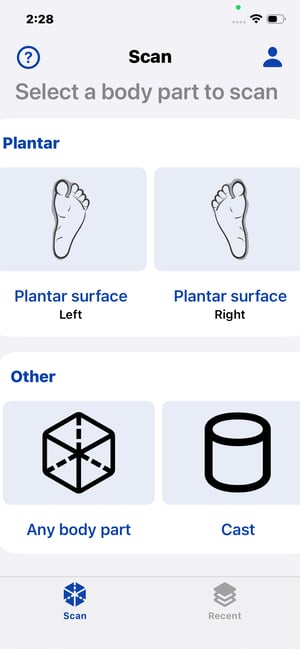
- Select a body part to scan.
- If you are scanning a leg, upper extremity, or chest, click the option that says "Any body part."
- If you are scanning a foot, choose the left or right plantar surface options.
- If you are scanning the inside of a cast, click the "Cast" option.
- Your camera will open with instructions. Click "OK."

- Click "Scan" to begin scanning.

- Click "Done" to view your scan.

- Click "Save" if finished, or "Redo" to try again.

- Give it a name, and click "Upload to Server" to upload it to FabOne.

- Below is a short video showing how to scan.
Find Your Scan in the App
-
Click "Recent" in the bottom right to view your previous scans.

Finding your Scan in FabOne
-
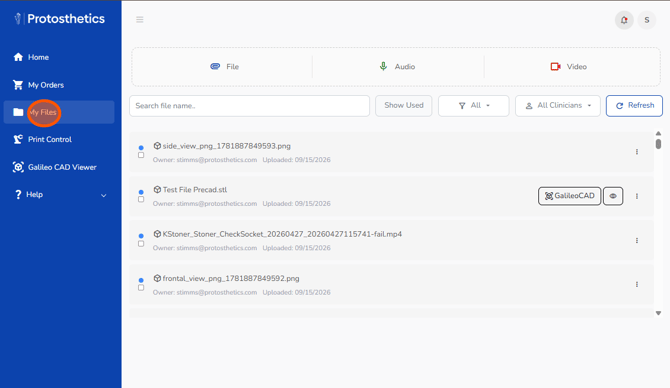
Log into the FabOne portal and click on “My Files.”
- You can scroll through the files, use the search bar, and use filters to find what you are looking for.
Scanning a Foot
- Click the Plantar Surface to begin your scan. Instructions will appear on the screen. Then follow the initial instructions above.

Turning on Scan with Color
-
Before clicking "Scan," tap the 3 circles in the bottom left. Please enable this if you want landmark drawings to appear on the scan.
Turning on Mirror Mode
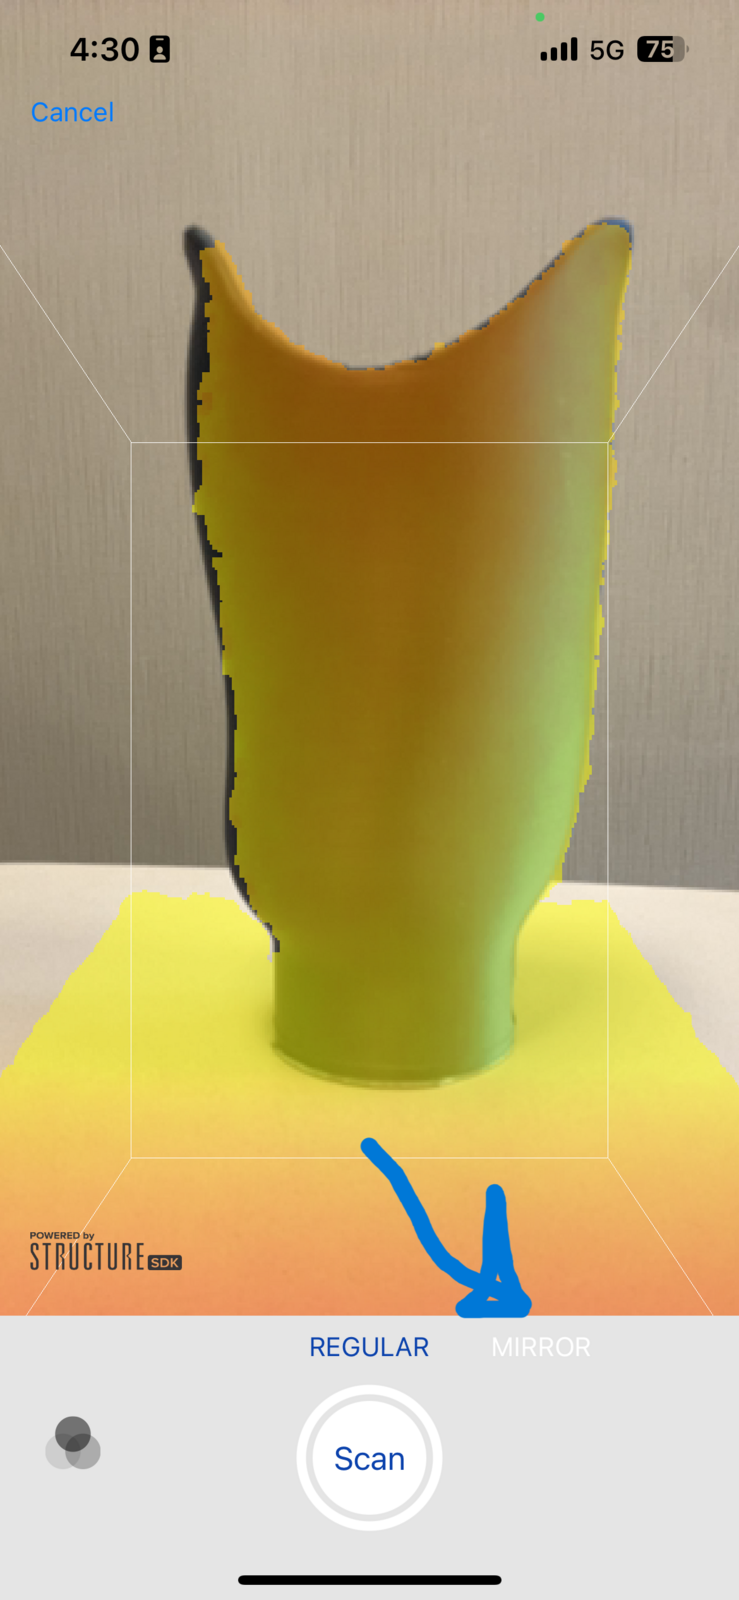
Note: Use Mirror Mode if using a mirror attachment
- Before clicking "Scan," check the "Mirror" option.
- Below is a video on scanning in mirror mode